Moussaka

28 Aug


Moussaka is recognised as the traditional dish of Greece. I have many happy memories of our times in Greece, sitting in the sunshine looking out over turquoise blue seas, eating this with a Greek Salad on the side and maybe a glass or two of Retsina. If you were lucky the Retsina would be served in a bottle, chilled, but in our early visits there were no such luxuries and it would be decanted from huge barrels into a copper jug. It’s a bit like Marmite, you either love it or hate it and some think it tastes like turpentine. I absolutely love it and have a copper jug at home that I decant the bottle into for authenticity. If I close my eyes I am transported back to those idyllic shores with my first sip of wine.

The traditional recipe for Moussaka will include frying the aubergines. I have adapted this recipe so that it is lower in fat but retains the authentic flavours. The traditional cheese would be kefalotyri but f you can’t find this Parmesan or Gruyère would be a good substitute. I have also added very thinly sliced potatoes and courgettes, personal choice so optional.

Moussaka.            Serves 6

  • 2 large aubergines, sliced into rings about 1/2 inch thick
  • 500g beef mince (5% fat)
  • 3 tbsp vegetable oil
  • 1 large onion, finely sliced
  • 150 ml dry white wine
  • 12 oz (340g) fresh tomatoes, thinly sliced
  • 2 small courgettes ( topped and tailed then thinly sliced)
  • 1/2 tsp ground cinnamon
  • 1/4 tsp ground allspice (optional)
  • Salt and pepper
  • 1 tsp dried oregano
  • 2oz (50g) grated kefalotyri (or Parmesan or Gruyère)
  • Small handful chopped parsley
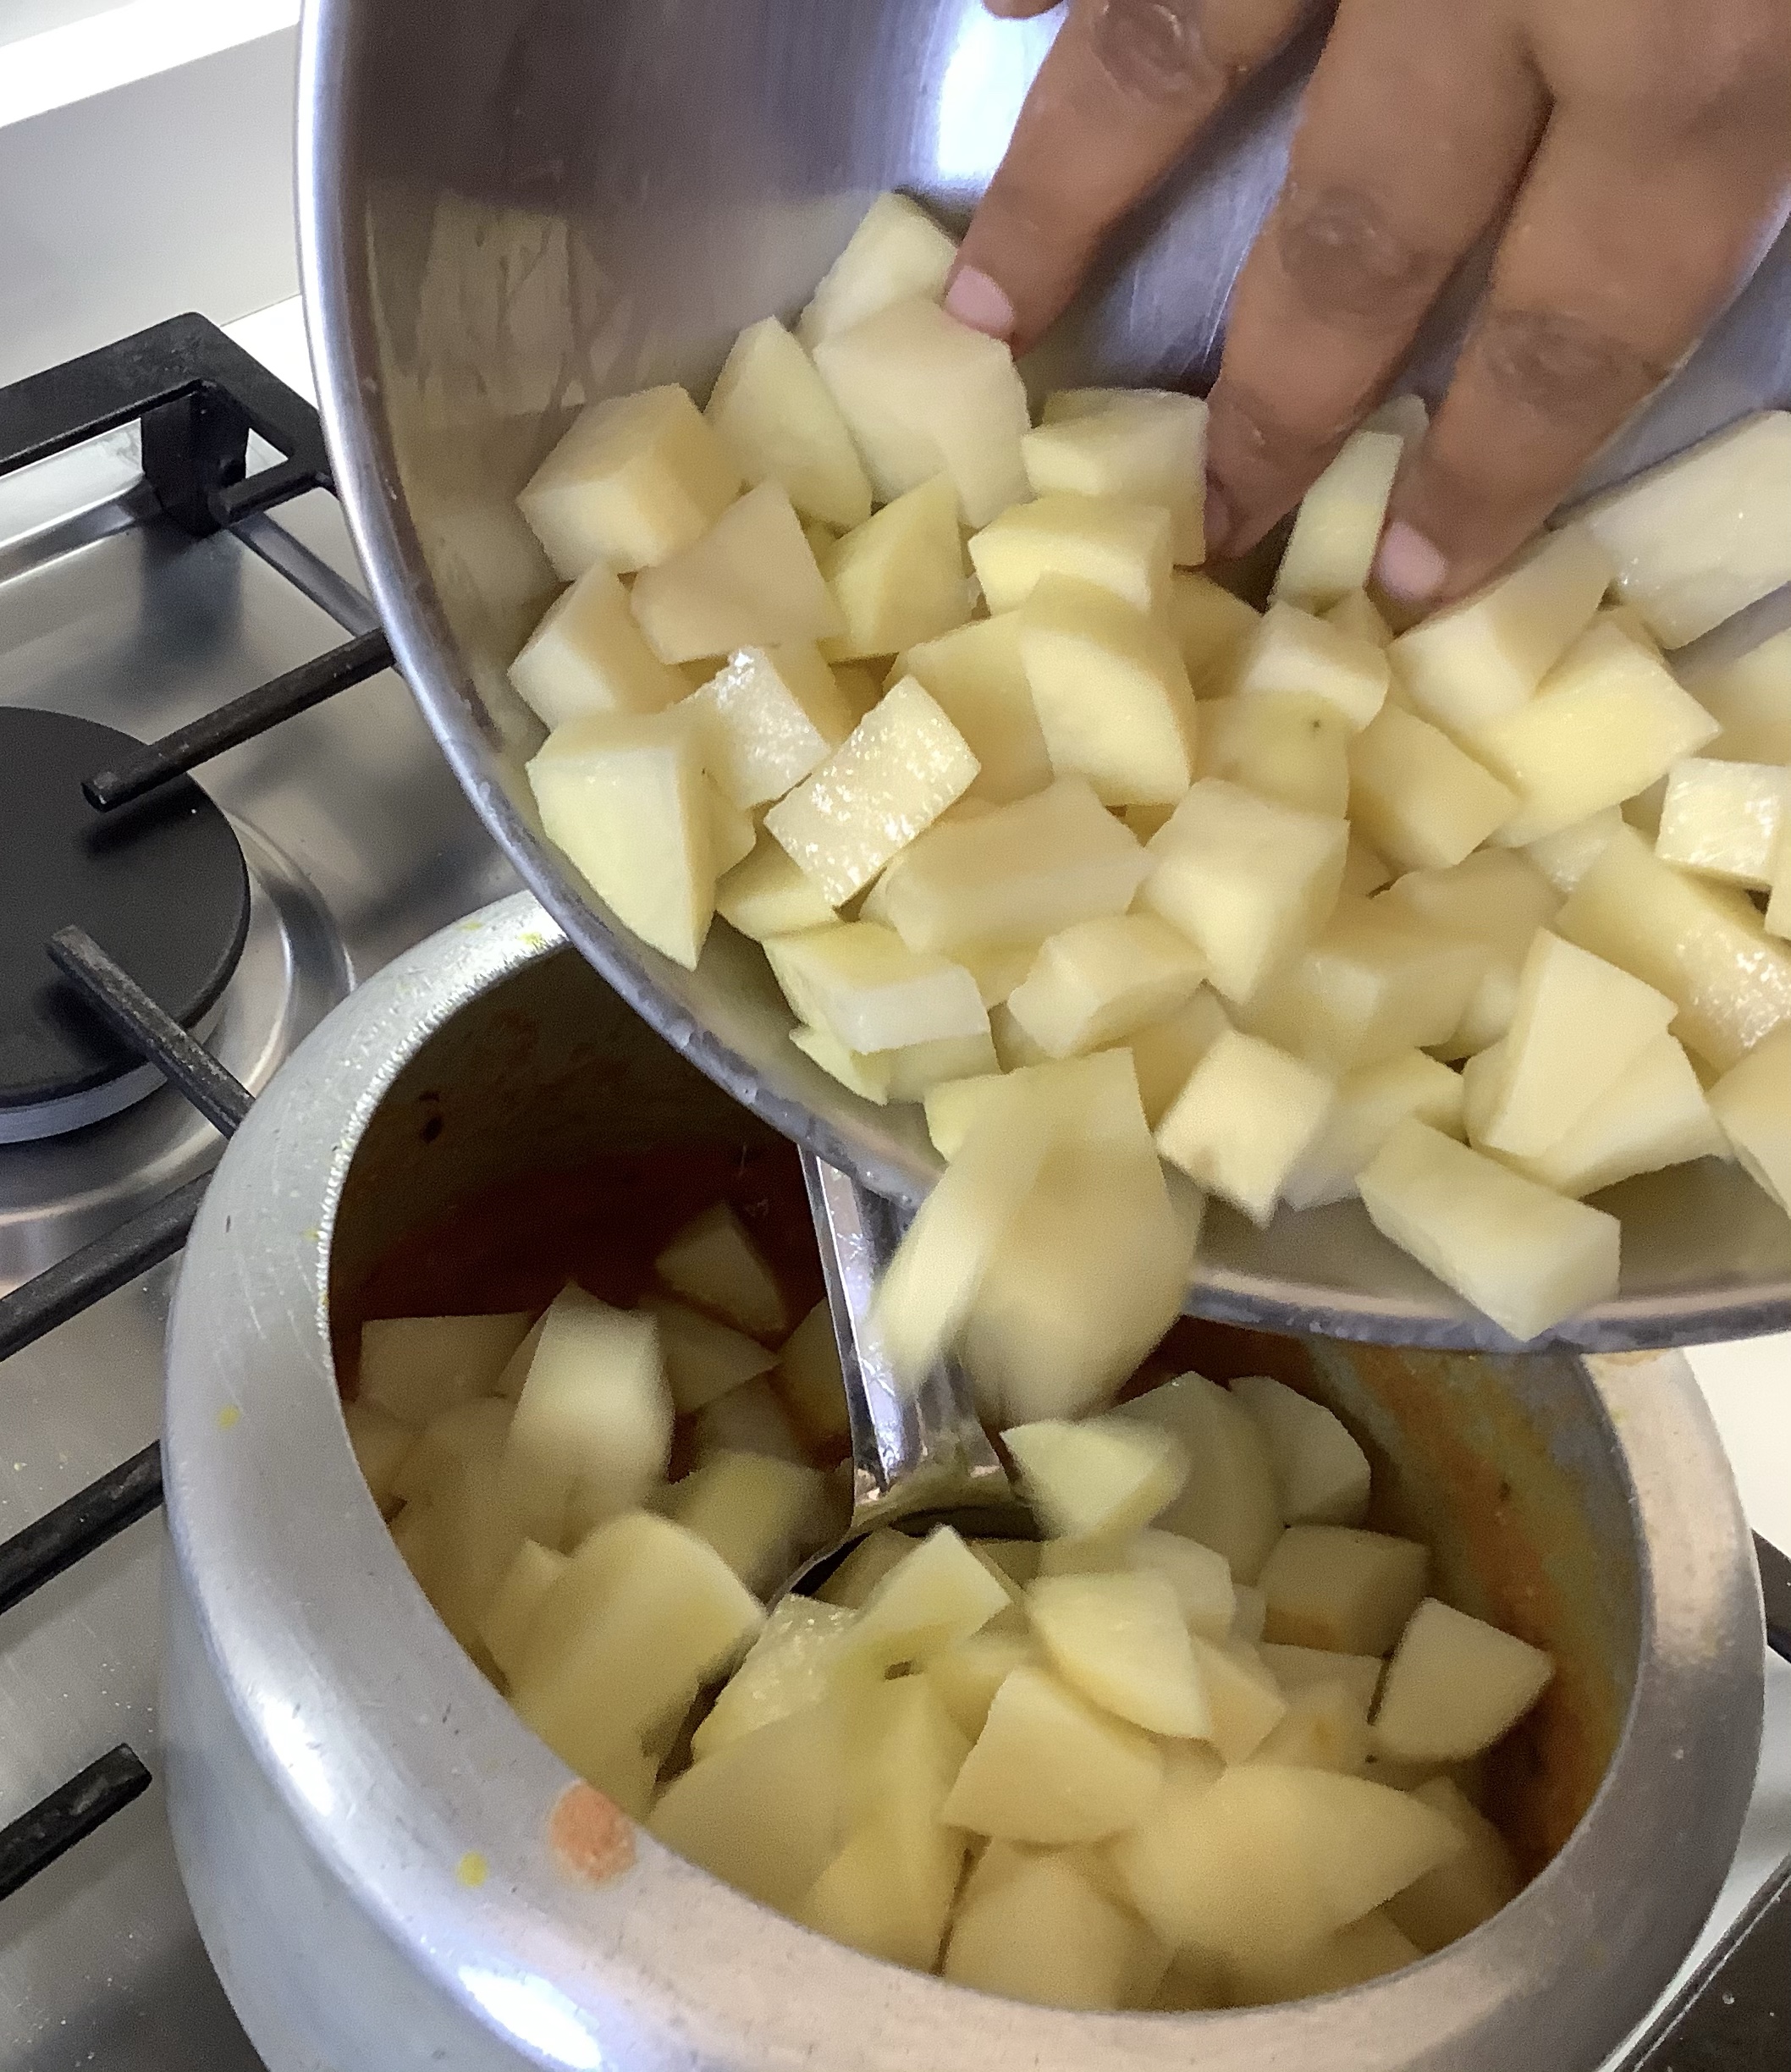
  • 4 small waxy potatoes (I used charlottes) peeled and thinly sliced
  • 3 oz (85g) butter
  • 3 oz (85g) plain flour
  • 1 pint (600g) milk
  • 2 eggs yolks beaten
  • 35g low-fat cheddar, grated
  • Extra 2oz (55g) cheese for topping

1. Bring a large pan of salted water to the boil then blanch the aubergine slices in batches for 5 minutes. Remove and place in a single layer onto kitchen paper to drain. Discard water.
2. In another large pan, sauté the onion in the oil until softened but not browned. Add beef and continue cooking over low heat until browned and no lumps about 10 minutes.
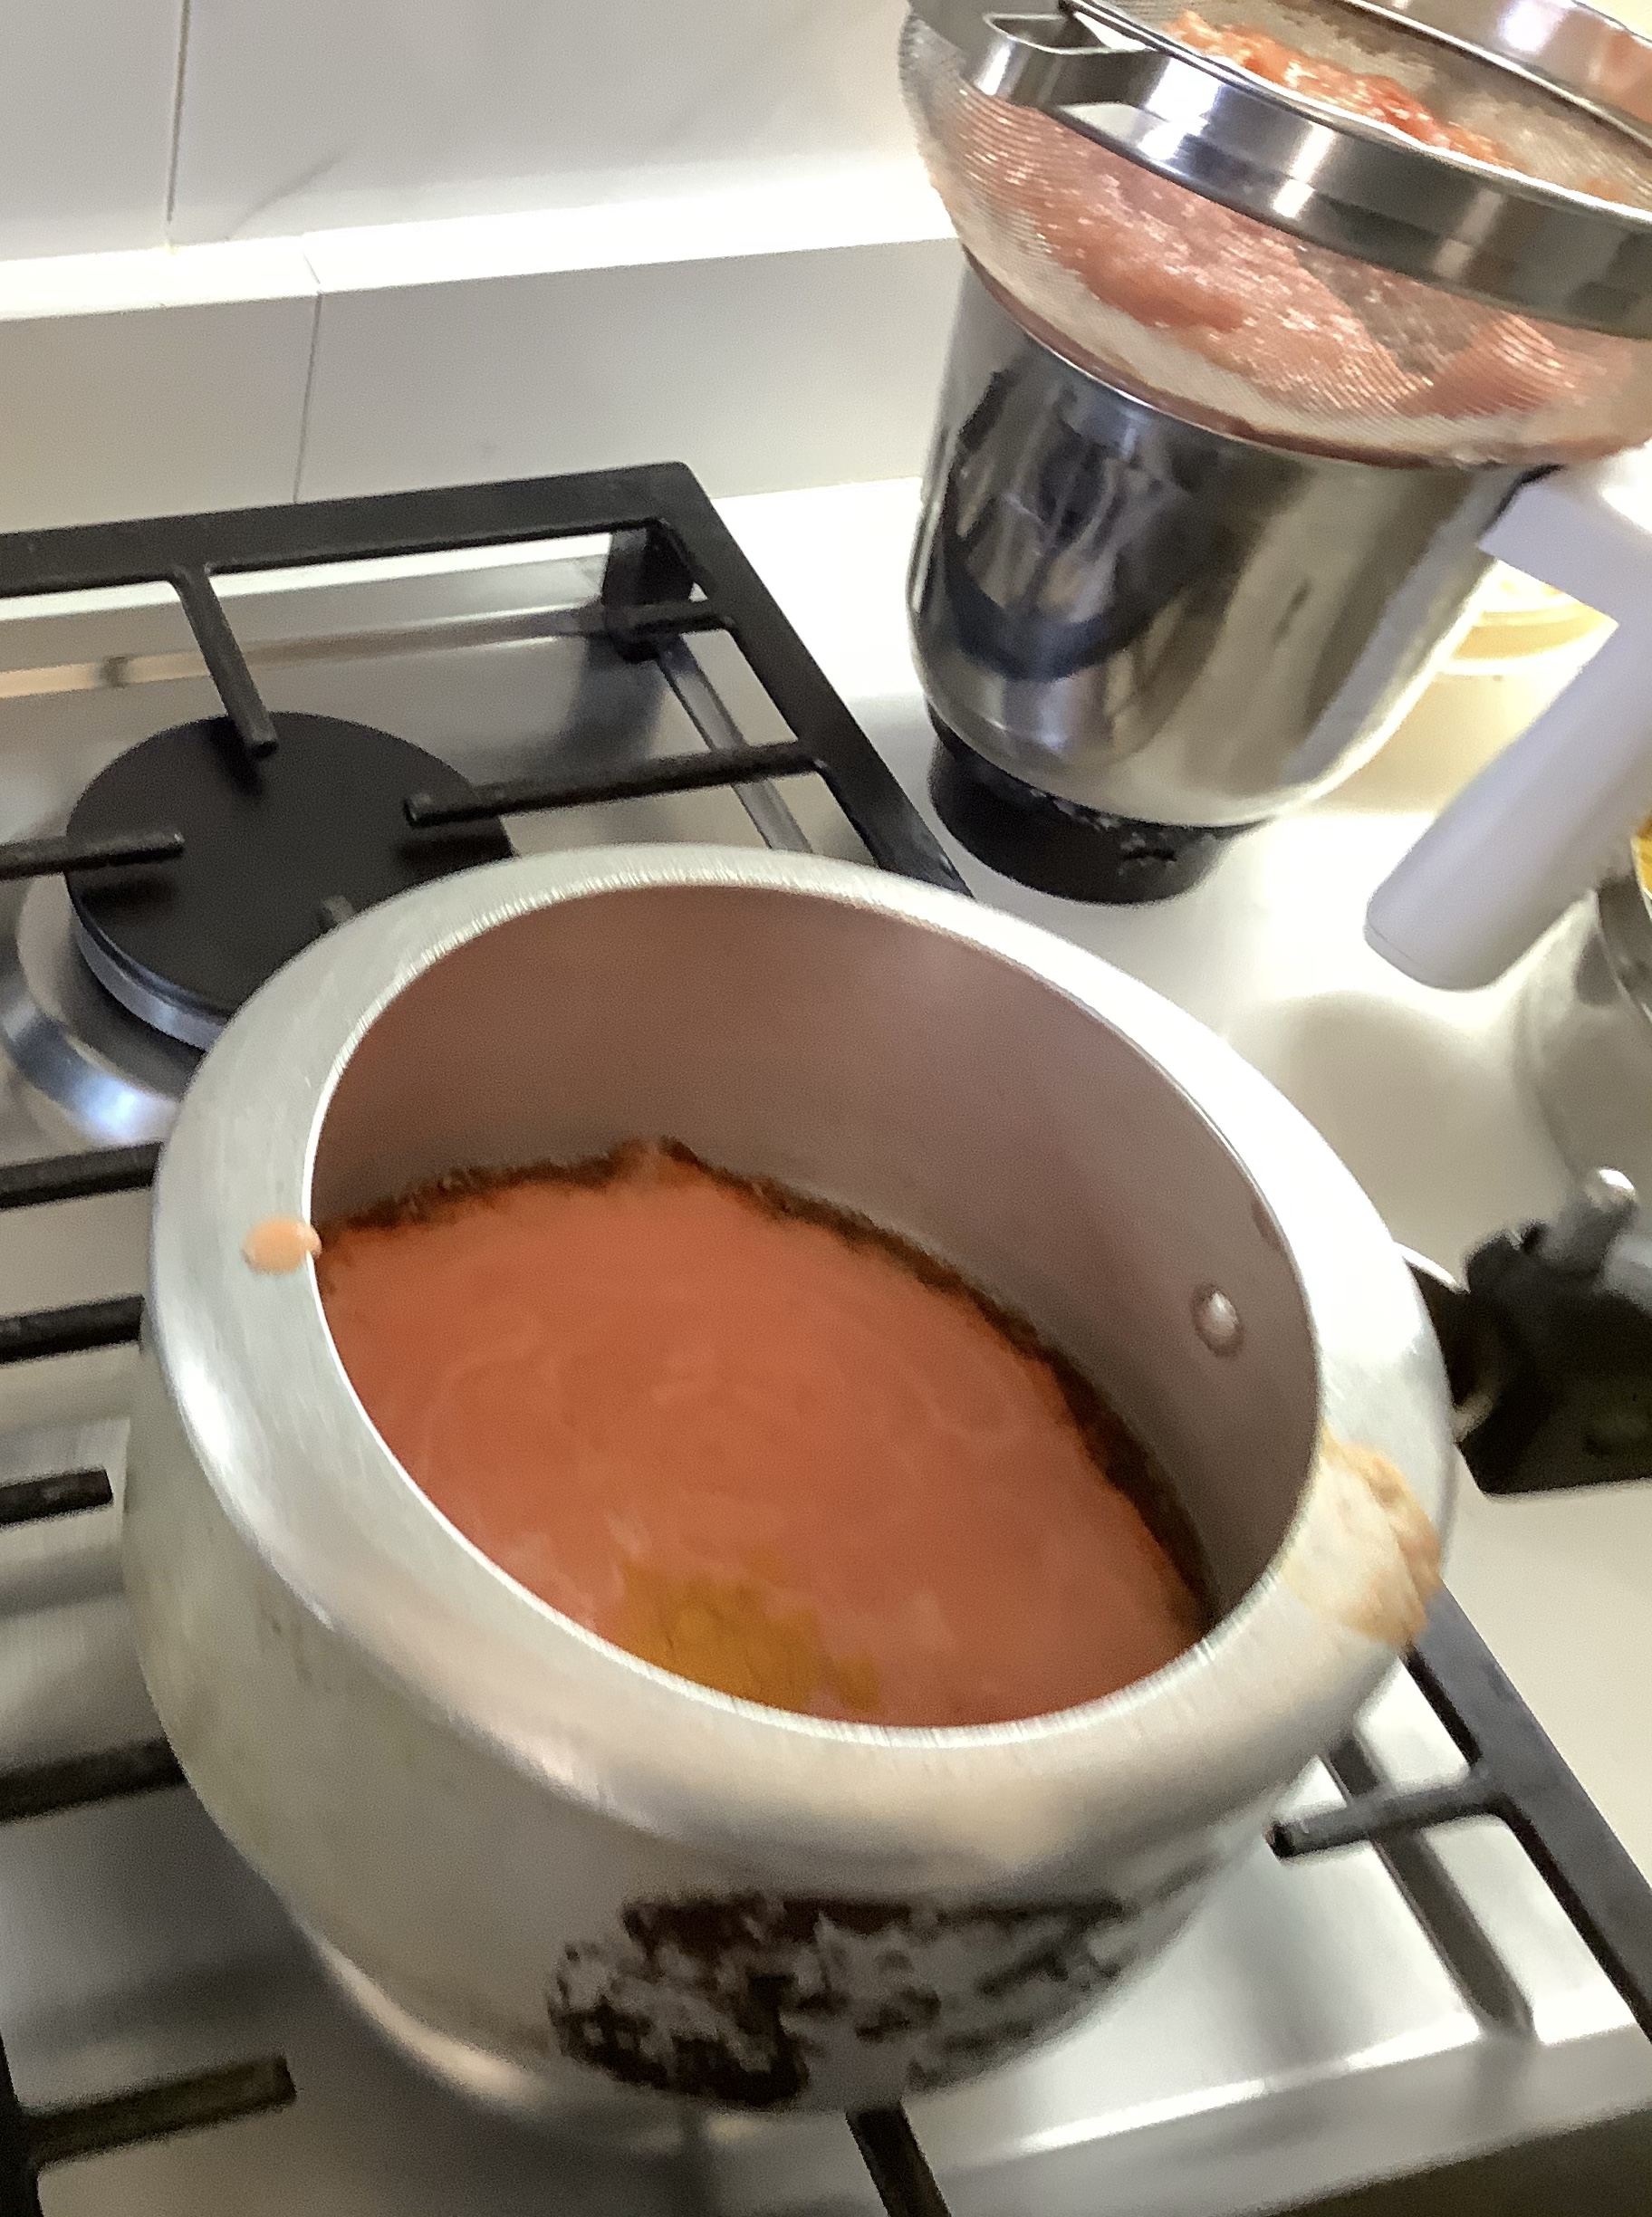
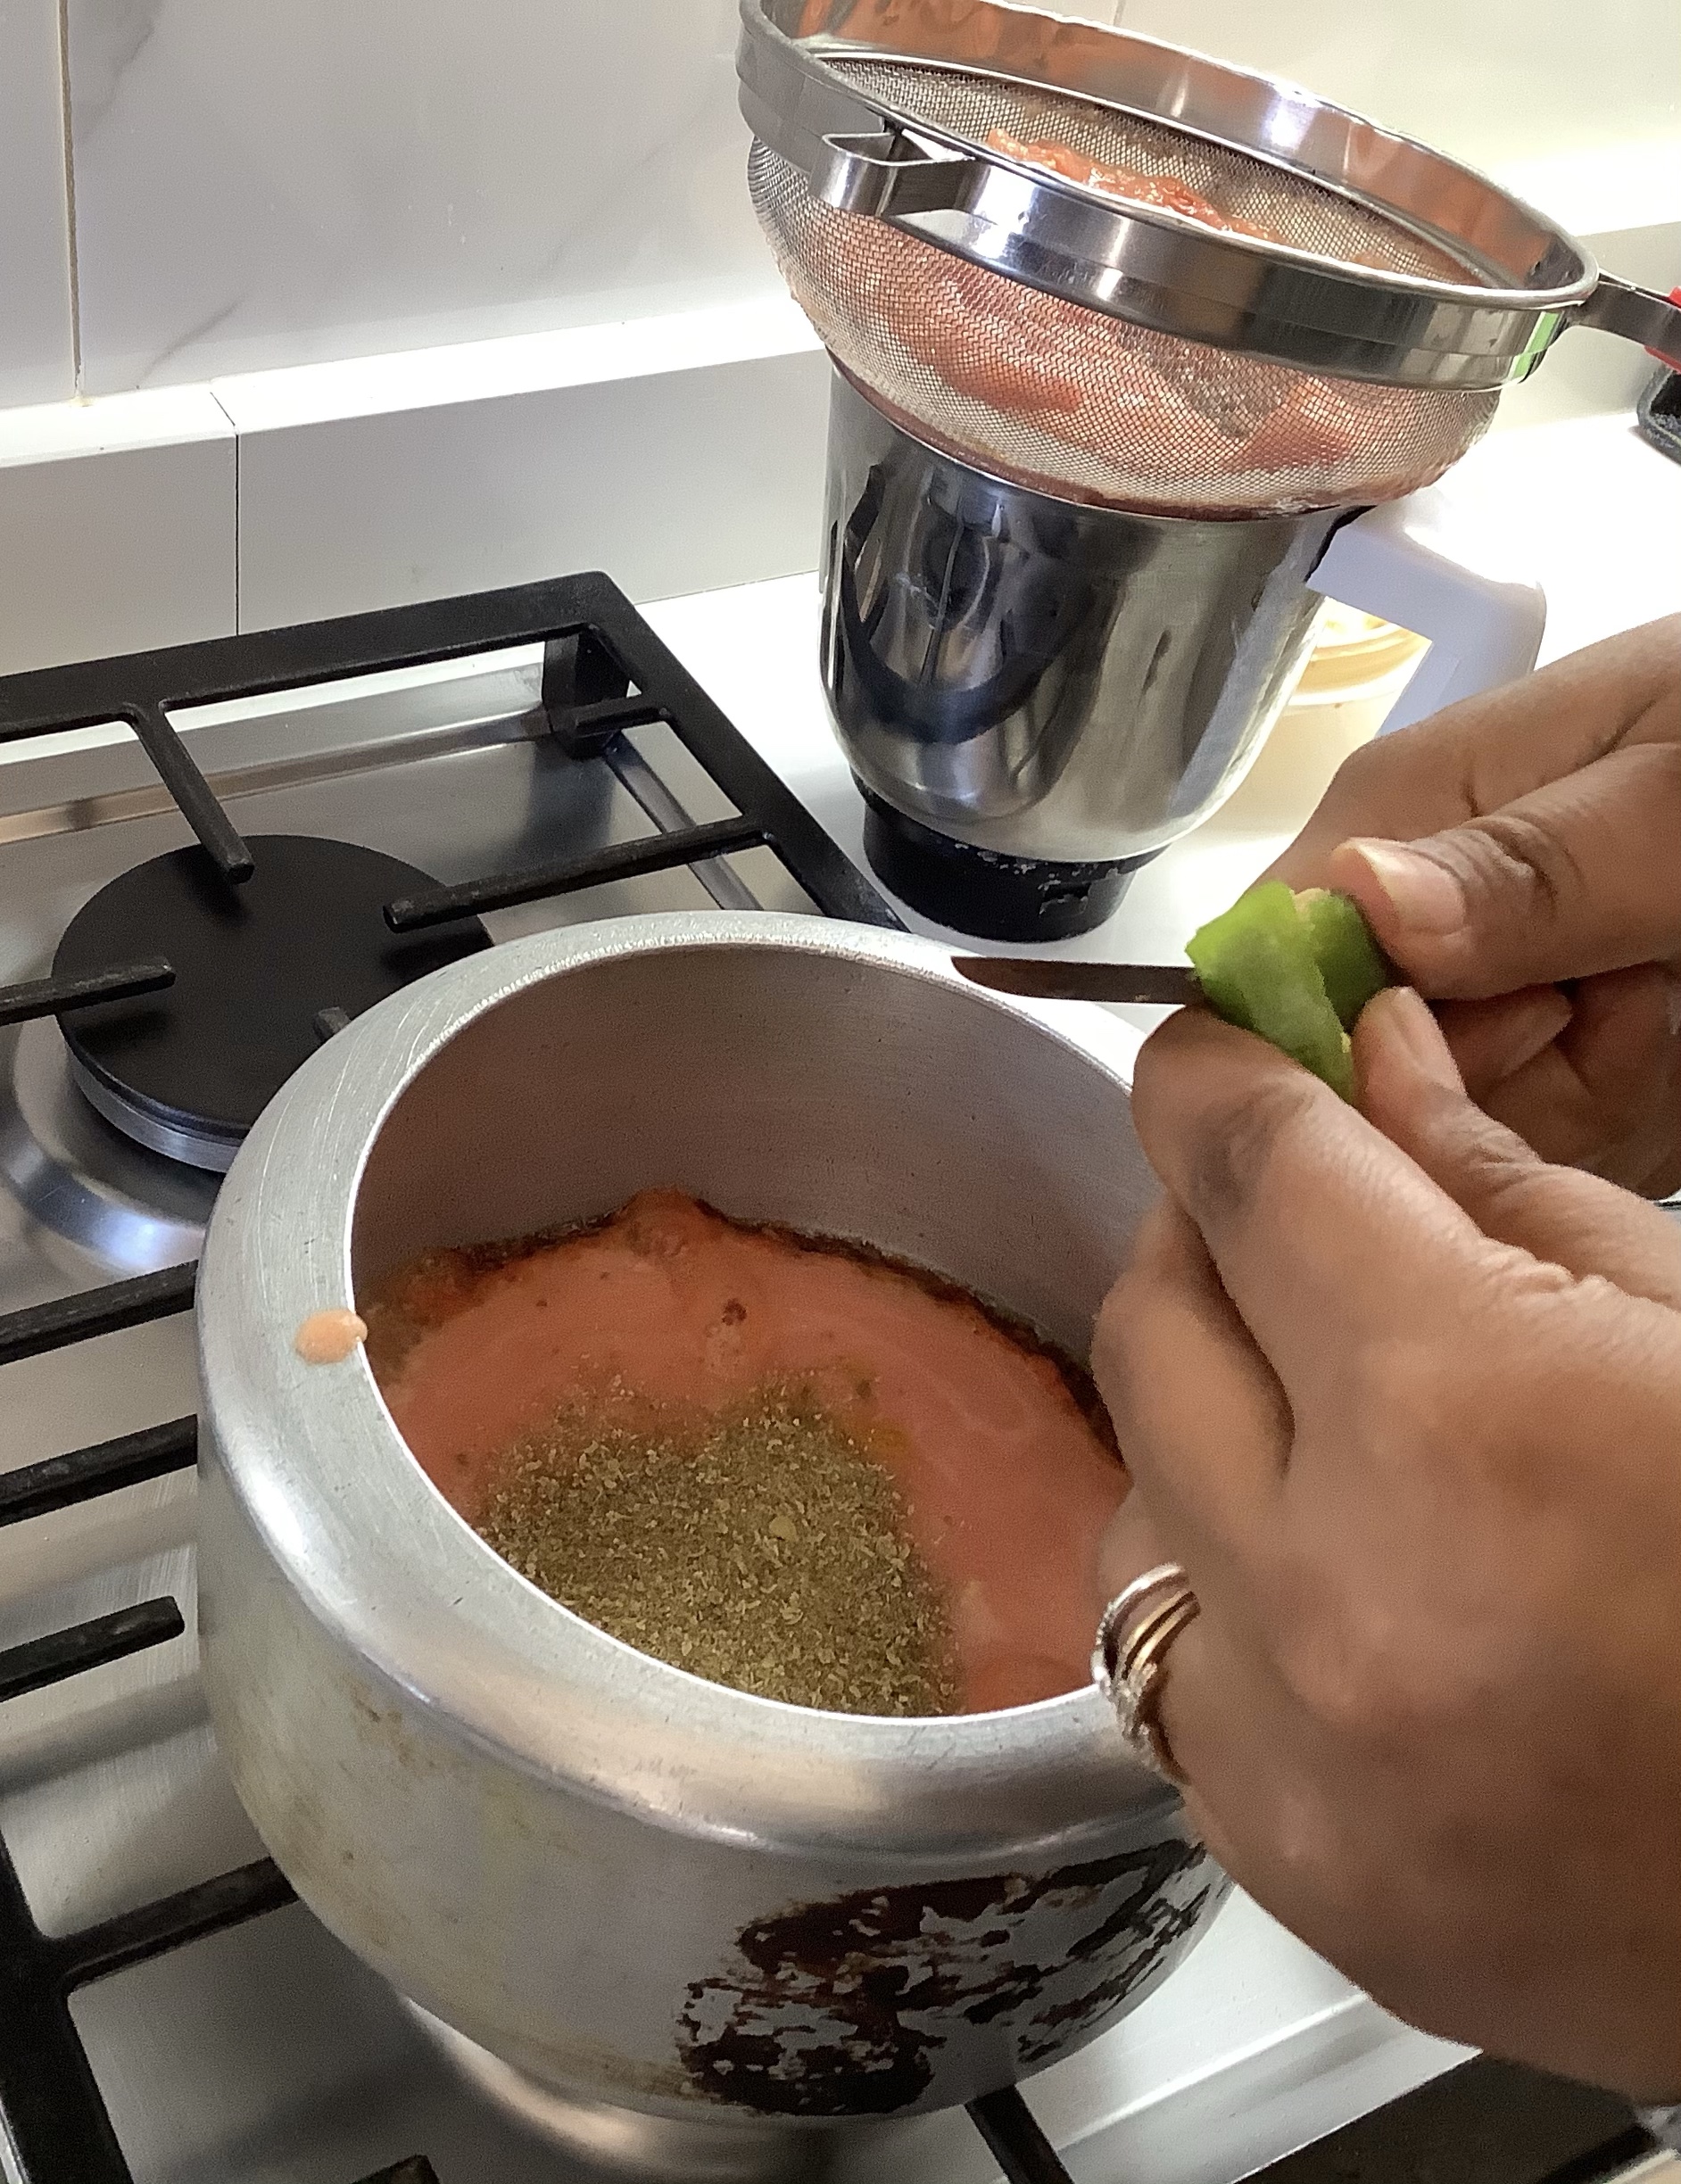
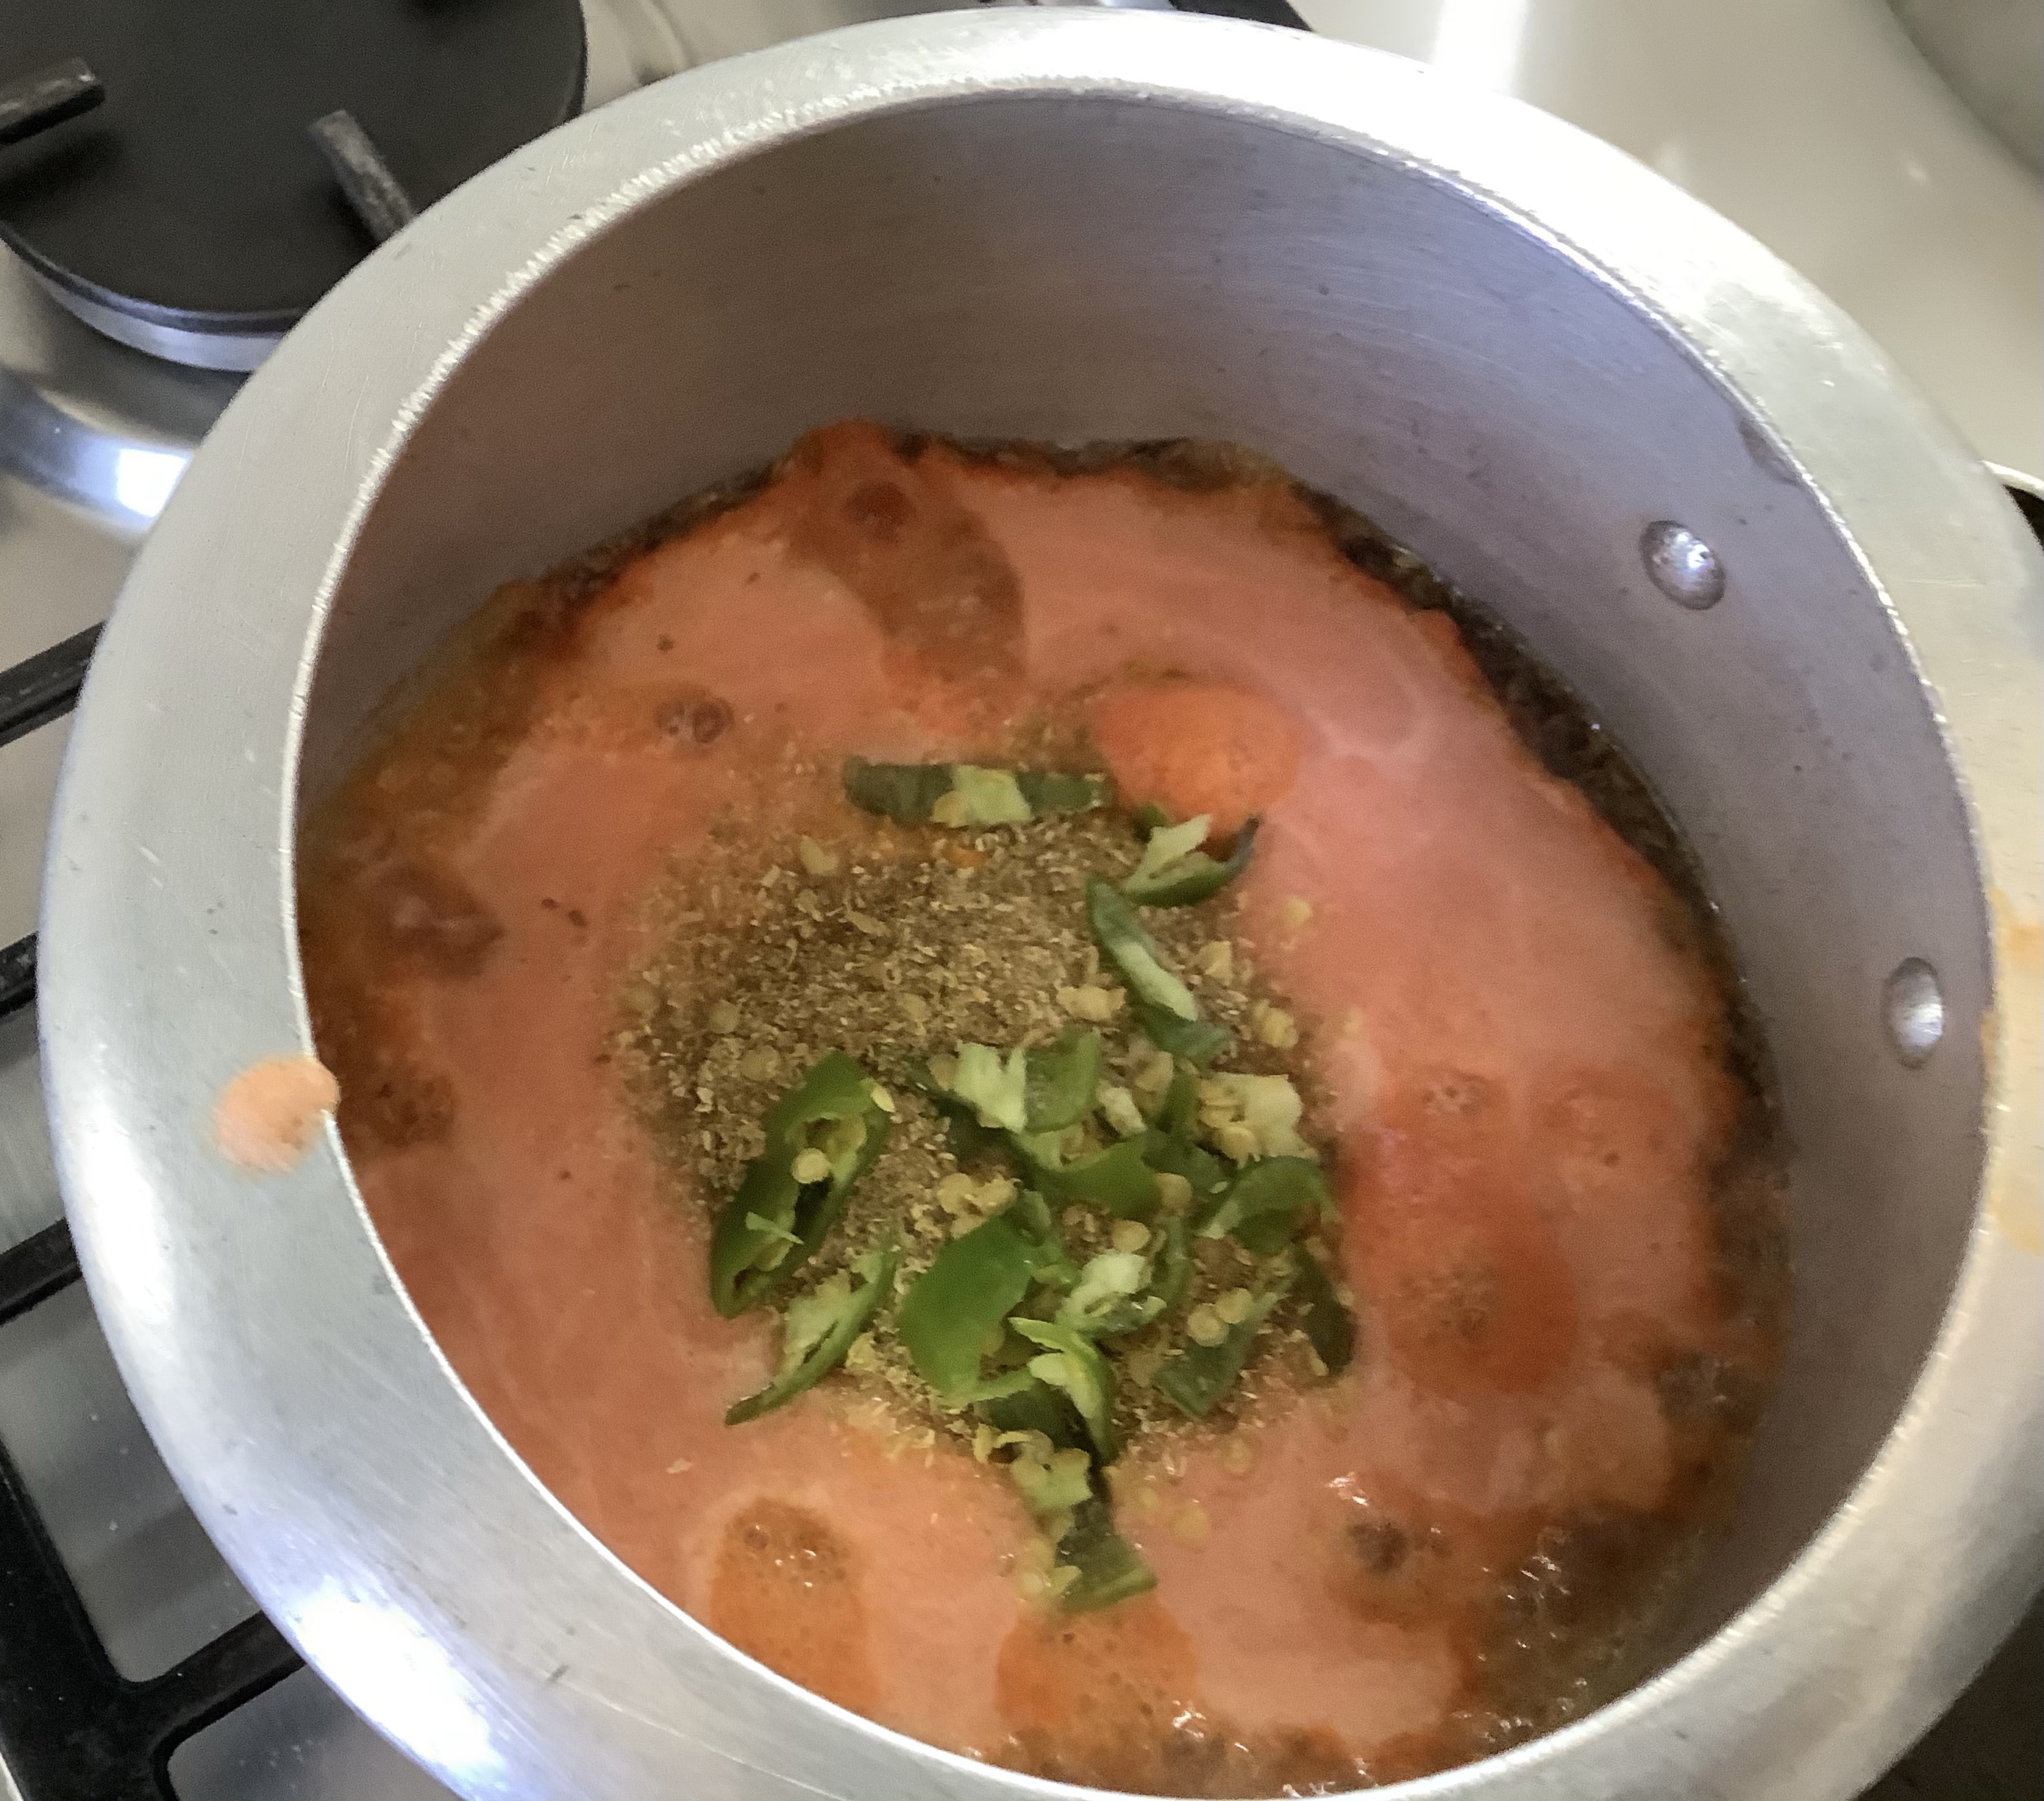
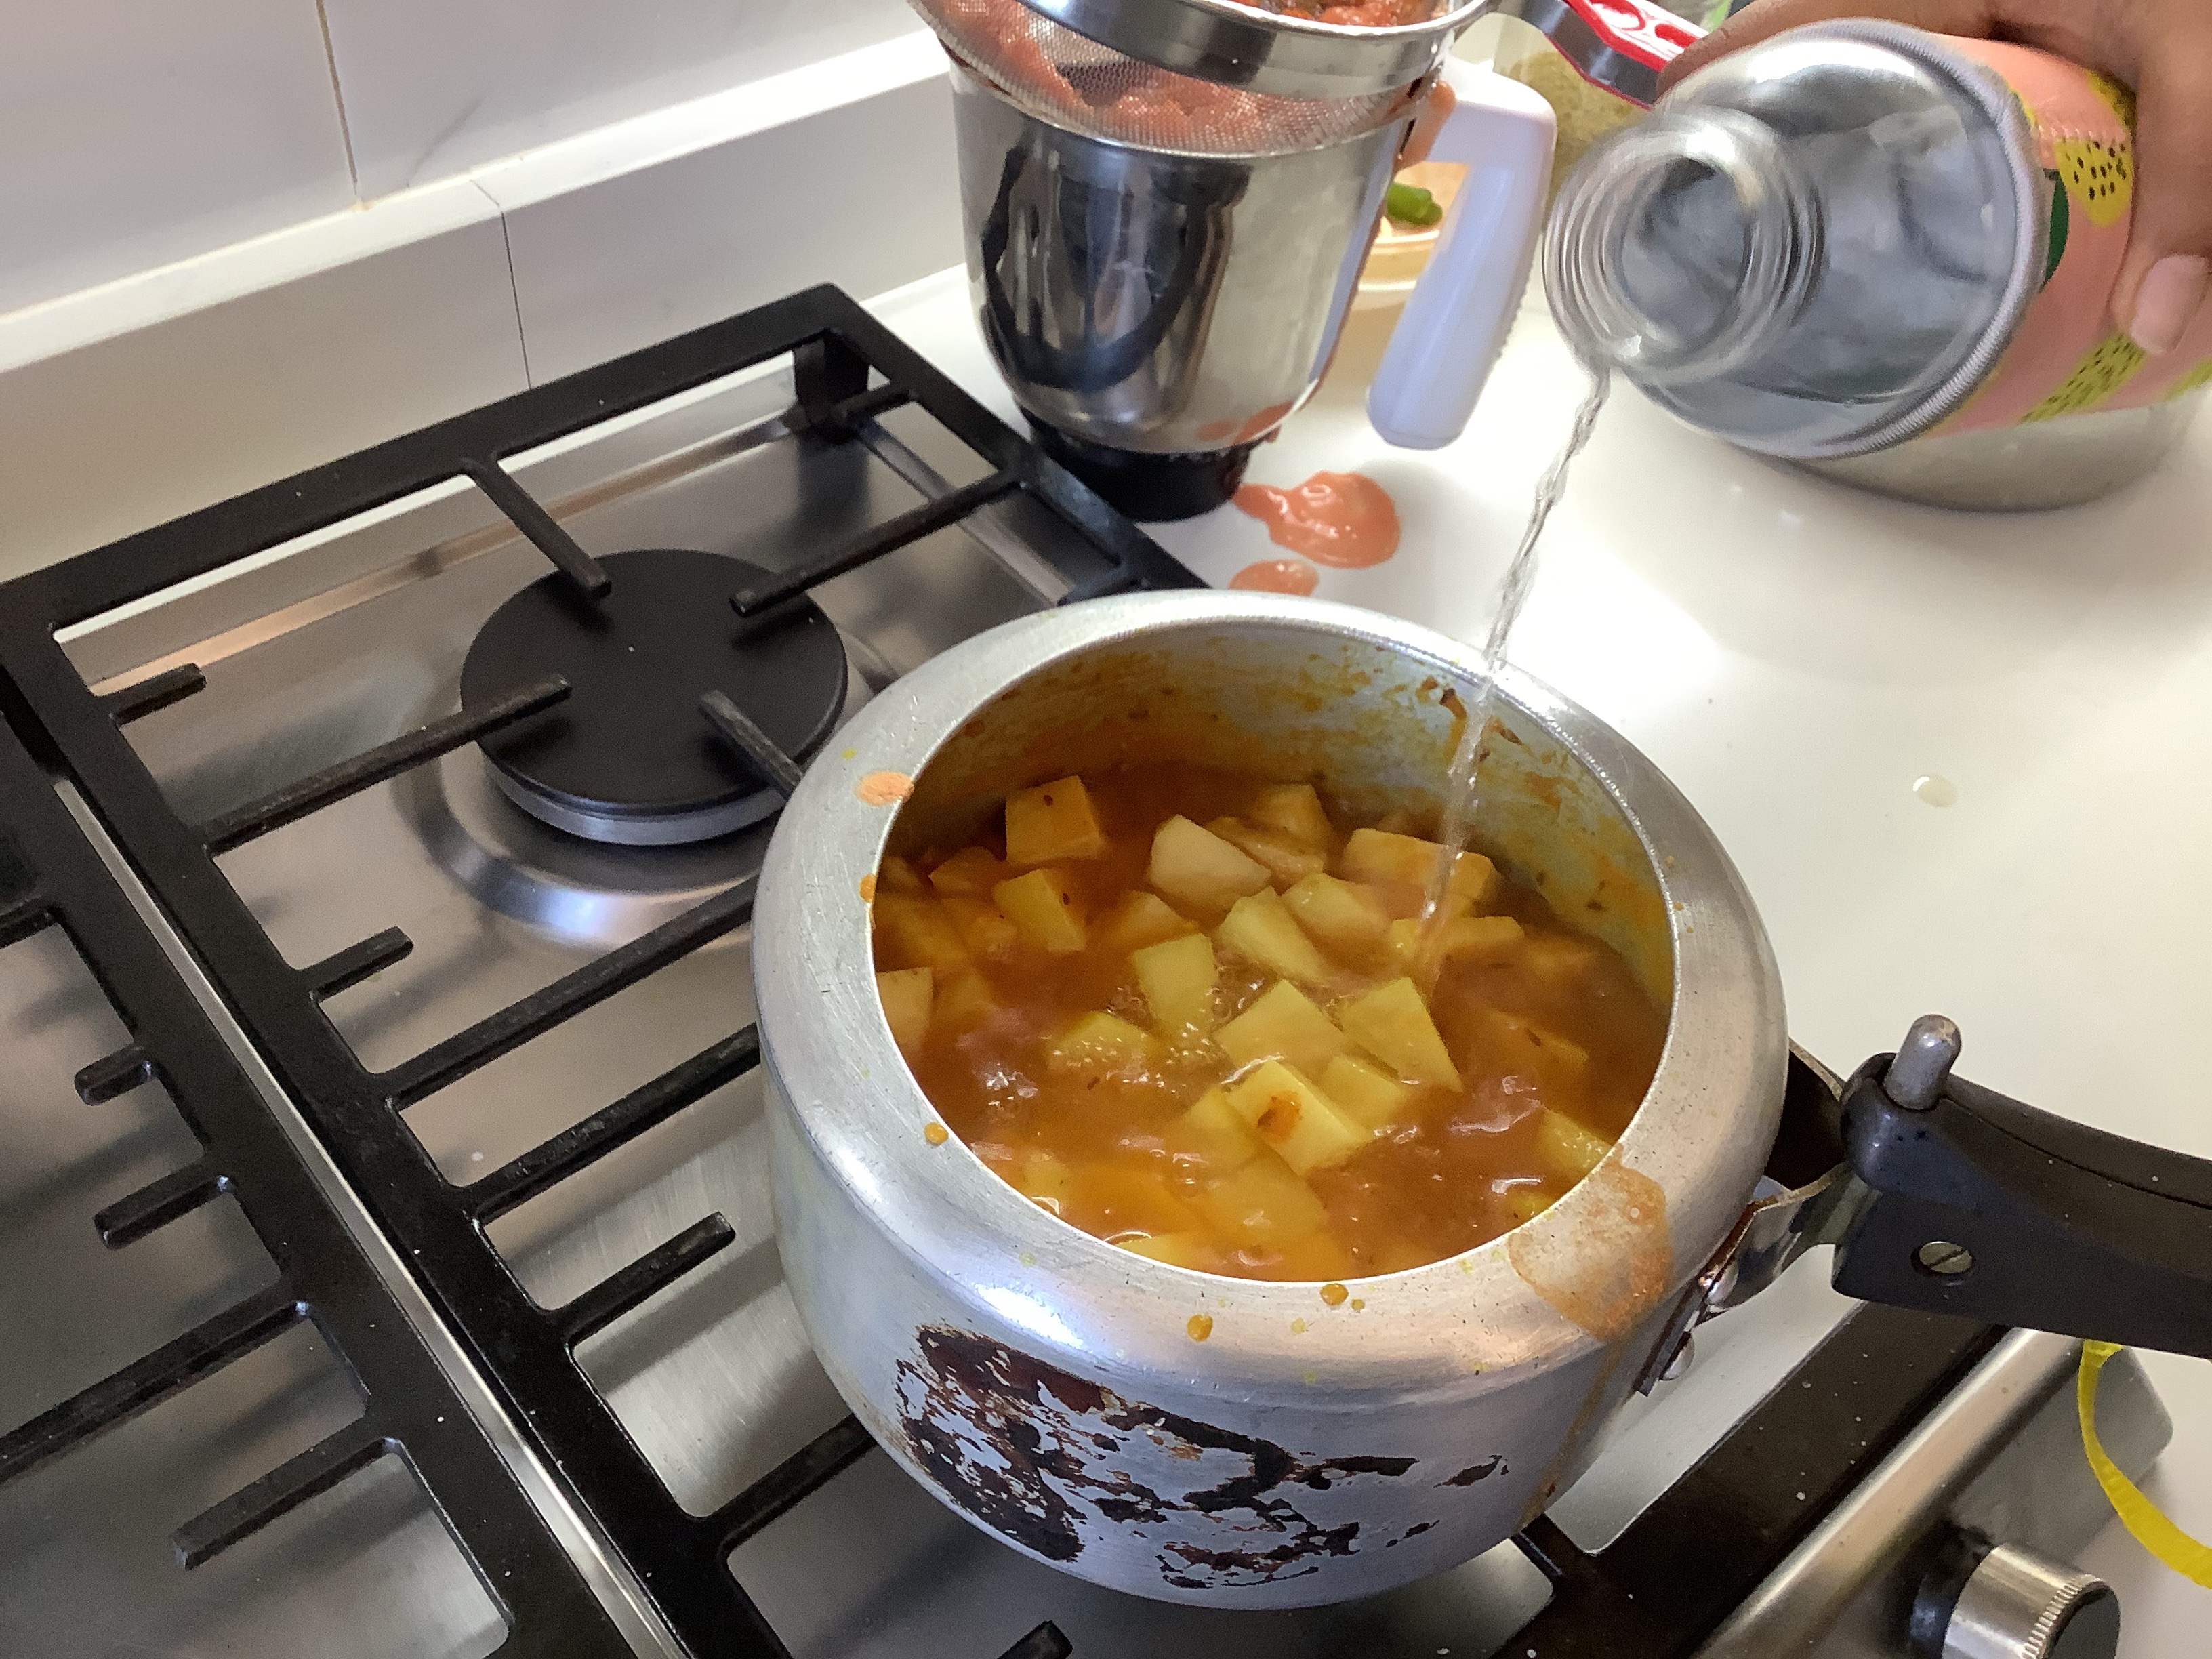
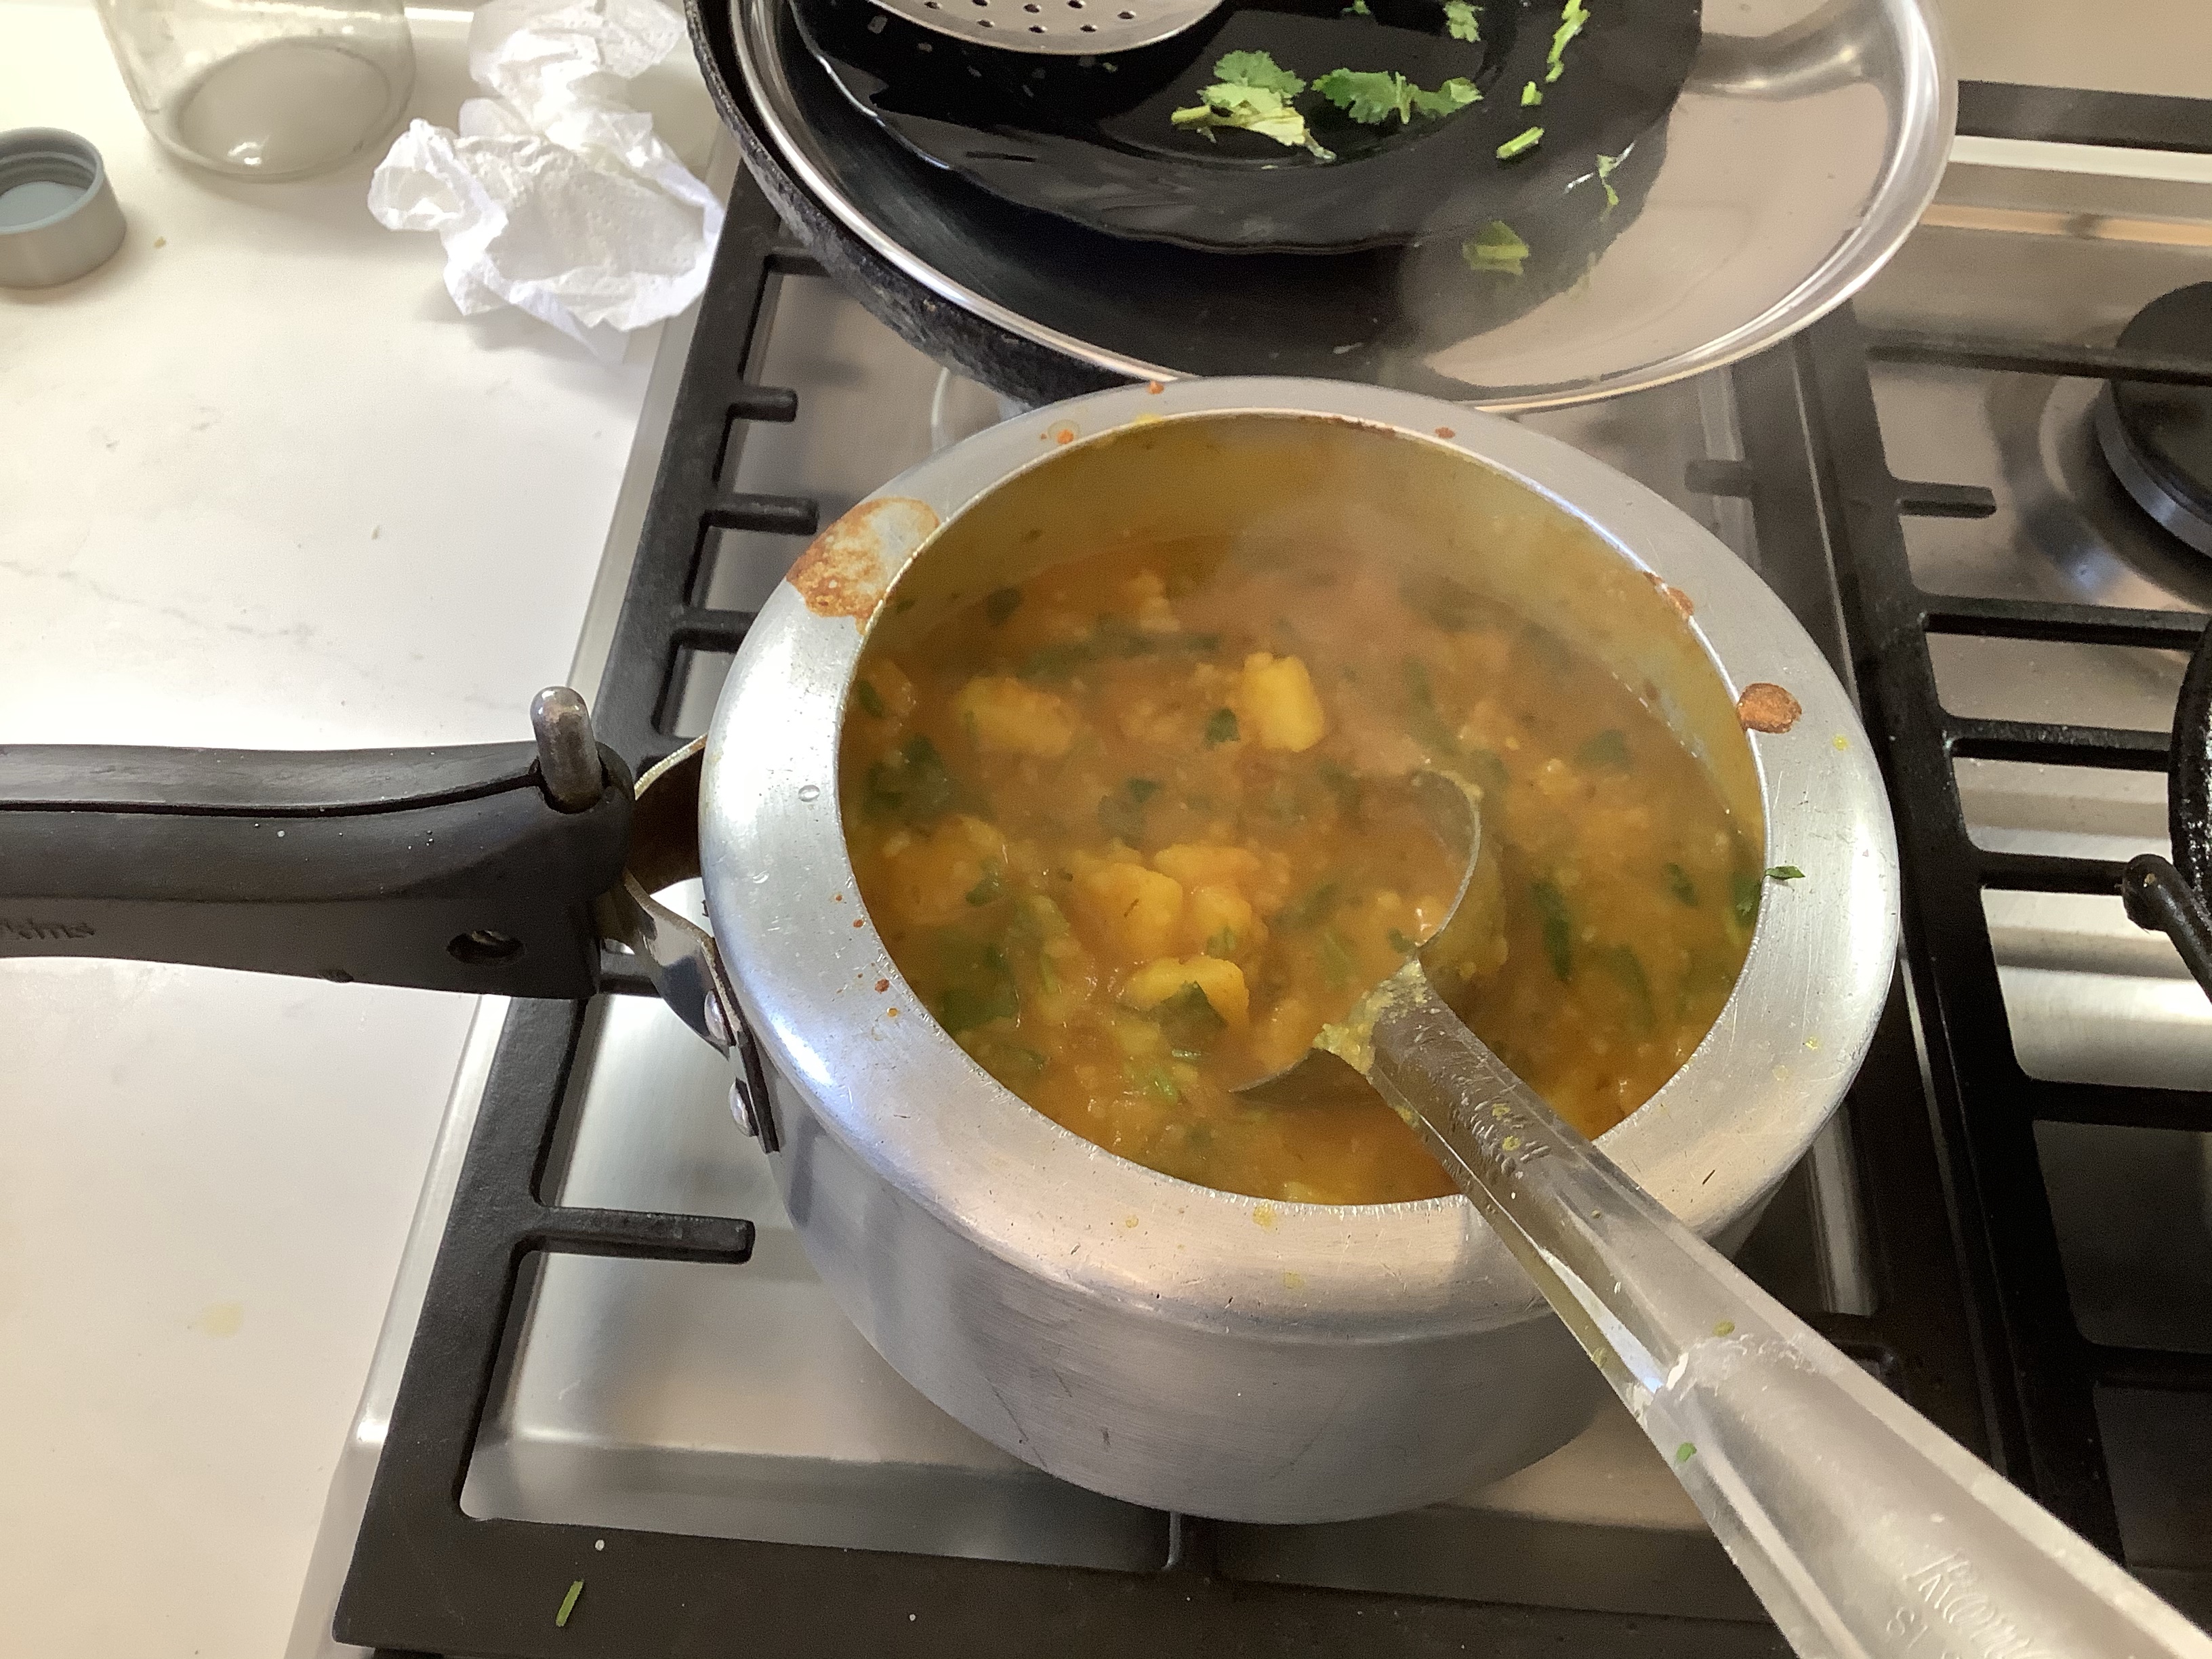
3. Add wine, tomatoes, courgettes, cinnamon, allspice, oregano and seasoning. Mix well. Cover and cook over low heat for about 20 minutes, adding a little water if it is going dry. Remove cover and cook for 15 minutes more to allow excess water to evaporate. You are aiming for a thick meat sauce. Mix in the kefalotyri and parsley Remove from heat and allow to cool slightly.
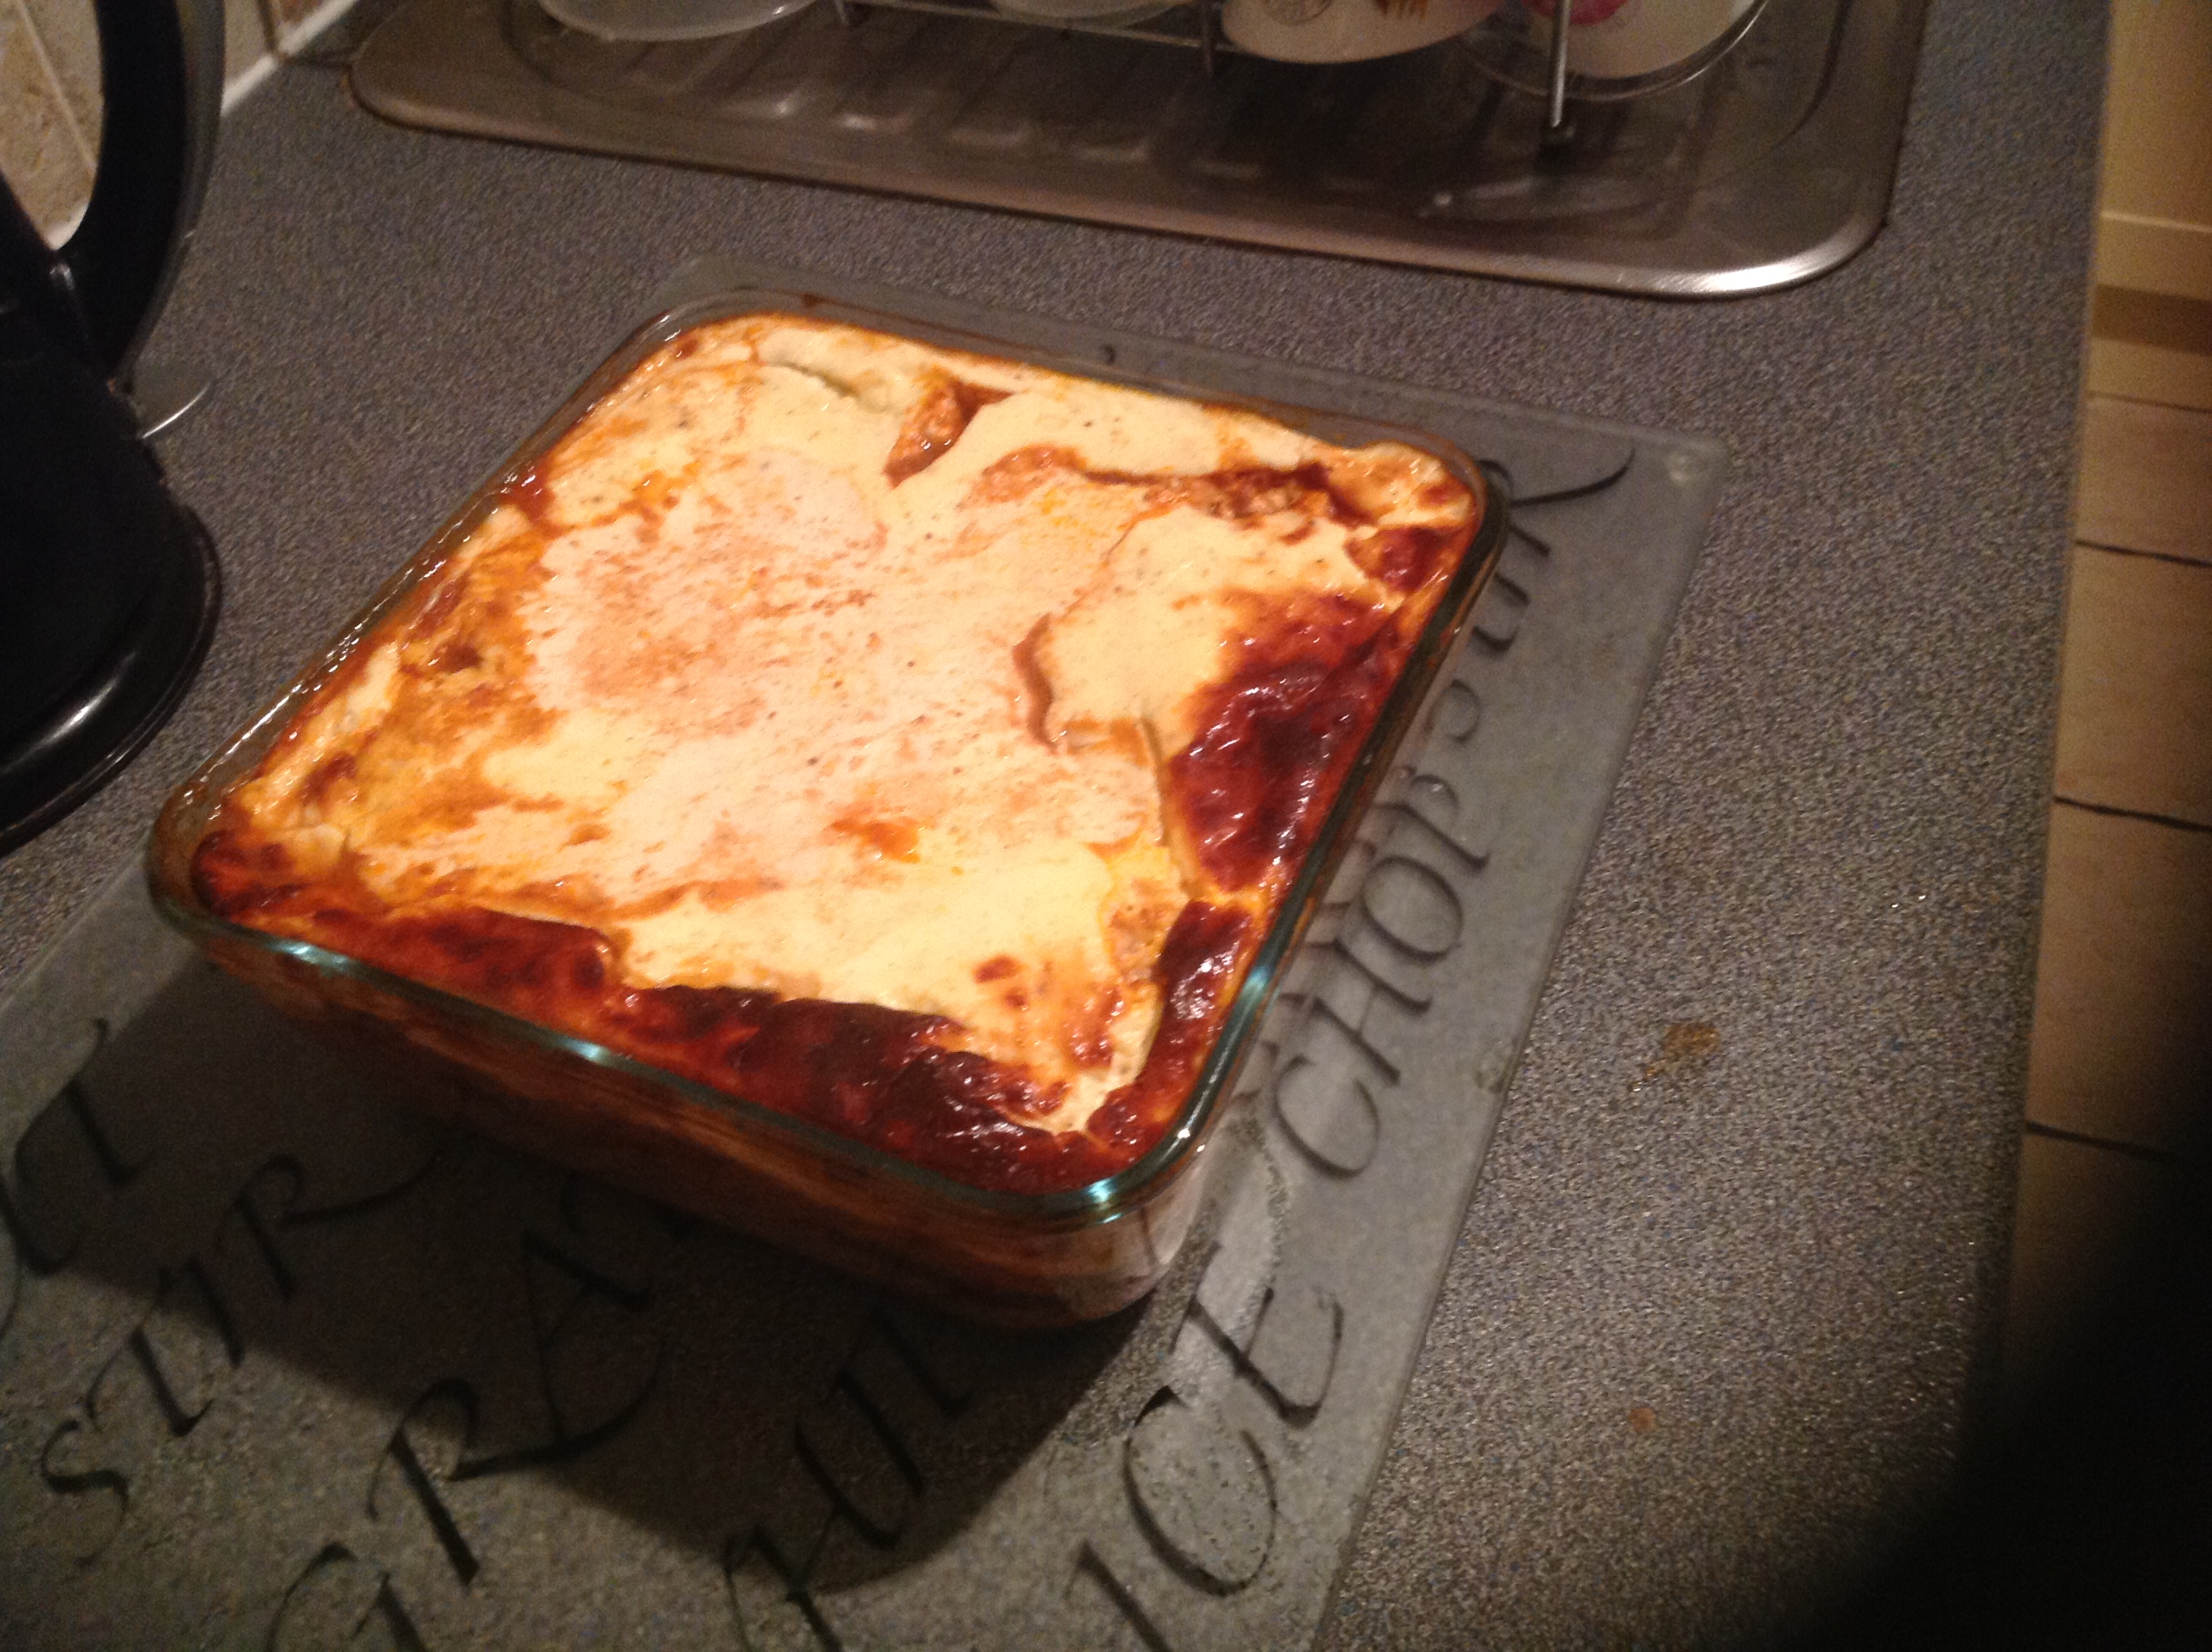
4. In an ovenproof dish put a layer of the potatoes followed by a single layer of the aubergine (doesn’t need to be totally covered), followed by a layer of meat sauce. Repeat with aubergines and finish with a final layer of meat sauce.
5. In a saucepan make the bechamel sauce. Melt the butter over a low heat and beat in the flour until combined. Slowly add the milk, beating well before each addition to prevent lumps. Stir continuously until the sauce thickens. Remove from the heat and carefully add the eggs yolks cheese. Mix well then pour over top of the meat until completely and evenly covered. Sprinkle with extra cheese then bake in preheated oven (180C/170C fan/Gas 4) for 1 hour until the top is golden and base heated through.
6. Remove from oven and allow to stand for about 10 minutes so the top firms up. Serve with a mixed salad if you like.


Samosa Chaat

21 Aug

Chaat or chat is a family of savoury snacks that originated in India, typically served at the roadside from stalls or food carts across the Indian subcontinent in India, Pakistan, Nepal and Bangladesh. There are many variations. The recipe below is using samosas as a base but my friend Monica has given me another recipe that has potato patties as a base. It sounds delicious and, when I have made it, I will add the recipe to my blog so you can all enjoy it.

Chickpea Curry Serves 2 hungry people

  • 4 tablespoons vegetable oil
  • ¾ teaspoon cumin seeds
  • 1 medium onion, finely chopped
  • ¾ tablespoon ginger and garlic paste
  • 1 birds eye green chilli, finely chopped
  • 200g can chopped tomatoes, pureed
  • ¾ teaspoon turmeric powder
  • ½ teaspoon red chilli powder
  • ¾ teaspoon cumin powder
  • 20g butter
  • ¾ teaspoon of salt to taste
  • 250g chickpeas from a tin, drained
  • 80ml water
  • ¾ teaspoon pomegranate molasses
  • ¼ teaspoon raw mango powder
  • 2 tablespoons fresh chopped coriander
  • ¾ teaspoons garam masala
  1. Heat the oil in a saucepan and then add the cumin seeds and sizzle for about thirty seconds
  2. Then add the chopped onions to the saucepan and cook until the onions are golden brown, this should take about 5-7 minutes on a medium heat
  3. When the onions are golden brown, add the ginger and garlic paste and green chilli to the onions and cook for about a minute
  4. Add blended plum peeled tomatoes to the saucepan together with the turmeric, red chilli powder, cumin powder, salt and butter
  5. Cover saucepan and cook masala for a good 10 minutes (stirring in-between), add water if masala starts to dry up
  6. Once masala is sizzling and the butter and oil has seeped from the edges, add drained chickpeas, mango powder and pomegranate molasses together with the water for moisture, cook for a 3-4 minutes
  7. Add final touches of garam masala and chopped coriander, cook for a final 1-2 minutes and remove from the heat.

Construct the Chaat

  • 5 Vegetable Samosas, cooked and hot
  • ½ Medium Red Onion, finely chopped
  • Chickpea curry
  • A drizzle of Tamarind sauce
  • 3 Tablespoons natural Greek Yoghurt, seasoned with 1 teaspoon cumin, ½ teaspoon salt and ¼ teaspoon black pepper
  • 2 tablespoons fresh Coriander, finely chopped
  • 1 Tablespoon Nylon Sev, optional, garnish
  1. Cut the samosas into bite sized pieces and share between 2 bowls
  2. Sprinkle over a dessert spoon full of chopped red onions
  3. Spoon over some chickpea curry
  4. Add a tablespoon of seasoned yoghurt
  5. Drizzle over tamarind sauce
  6. Garnish with coriander and a tablespoon of nylon sev
  7. Serve

Potato and aubergine Sabzi

13 Apr

This is yet another beautiful recipe shared by my friend Monica. It is one of her mother’s recipes and one of Monica’s favourites and I can see why, it is absolutely delicious.

Before I share the recipe I would like to share a very interesting article Monica wrote on basmati rice.

“The Story of Basmati Rice – The crown Jewel of Indian Cuisine, In Foreign land people try to achieve the biryani that they ate in a indian restaurant or rice dishes that they ate during their trip to India. They try to get all the possible spices to put in a biryani and yet they buy a regular Basmati Rice available in Regular Non Indian Supermarkets and fail to get the same result of each rice grain fragrant and apart in a Biryani. Also in today’s time where Brand is all what people talk about, they buy a particular branded Rice and yet fail to achieve the result.
By reading this article you will know how to choose best Basmati Rice for your home. People who like to stick to points can directly go to the bottom of article and people who like stories and culture around a food can continue to read on.
When I was a child, I accompanied my mother to grocery stores and at that time we didn’t get branded rice, dal or flours but yet we ate the best quality food. My mother would touch the grain, smell it, see the size and colour of it and would choose the best one. I am sharing the same with you all today.
A Good Basmati Rice is at minimum aged 2 years, So does it mean the older the basmati rice, the better it is. “Oh Yes” As the years pass the long grain basmati rice changes it’s colour from white to off white and the fragrance of rice increases. It also means that Basmati Rice doesn’t have any expiry date if it is well stored.
My Mom would buy a quintal of Rice, Wheat, Dals and Whole Spices and would store it well in Big Metal Drums, she used dried Neem Leaves(Its a medicinal tree with bitter leaves and stems) to prevent grains from getting any pests. Before making rice she would spread grains on a plate to check for any stones and wash it 2-3 times and then cook. It is important to wash it 2-3 times until the water is clear so when you cook the rice the grains don’t stick due to presence of starch.
Off Topic – It was also a tradition in India when a girl got married the parents gifted her metal drums and utensils to make her own kitchen in the new home, though now since big companies have started packing things in plastic and in small bags, and also we do not live in joint families anymore plus we often eat outside (when I was child until 12, we only ate out when travelling) we do not need these big drums to store our Rice and Grains, But still my mom followed the tradition (knowing I am getting married to an NRI and I can never take those drums and utensils with me to Spain) she bought me those drums, filled it with homemade sweets and papad for my Husband’s entire family and also for distribution. (Well In India you can’t stop your parents or family to do anything in your wedding, they like to fulfill all their dreams in their daughter’s wedding)
Back to Rice – To retain the fragrance and taste we do not drain water (except in some dishes), we have ratio of water and rice (depends on the kind of basmati rice you have got, since my mother bought in bulk she would understand the ratio and apply it for the rest of the Rice) plus we add some oil or ghee and salt. I do remember from my childhood and even now when we cook a good basmati rice I can eat it just plain.
Also I find how previous generation cared for optimum use of energy sources, they were better at planning important things like meal (Not like us who would want every thing ready to use like pastes, frozen food etc) which not only fed their family better quality food but also saved expenses on cheap meals and medical bills due to malnourishment(well this is an entirely different topic, coming back to Basmati Rice) They did soak it for 30 mins before putting it to cook which saved Gas, time and also make the rice fluff up and evenly cooked. And they did the same for lentils, beans, chickpea etc.
Here are the Pointers for making a perfect Basmati Rice”

Thank you Monica!

Here is the recipe. We had it as a side dish but it would be great as a main and perfect with other small dishes to have with puri. I hope you enjoy it.

Potato and aubergine Sabzi – serves 2 as a main or 4 with other small dishes

  • 1 large, firm aubergine
  • 2 medium waxy potatoes
  • 1/2 tablespoon fennel seeds
  • 1 teaspoon turmeric
  • 2 tablespoons vegetable oil
  • Red chilli powder to taste

1. Cut the aubergine and potatoes into small cubes, about 1/2 inch

2. Put some vegetable oil, about 2 tbsp, into a pan and add 1/2 tbsp of fennel and 1 tsp turmeric. Make sure the seeds don’t burn. When it start to smell fragrant add the vegetables and mix well to cover with the spices.

3. Cover and on the lowest heat cook gently until the potatoes are tender and the aubergine is soft and creamy. Check on it occasionally to make sure it’s not catching. It can take anything from 15 minutes to 45 minutes depending on the size and type of potatoes etc.

4. When cooked add some red chilli powder to taste 🤣🤣

Puri with potato curry.

1 Mar

Today I was privileged to be invited for breakfast at our friends house. Monica had promised me a special Asian breakfast and a one to one lesson on how to cook puris. Puri is my favourite starter when I go to an Indian Restaurant, usually topped with either prawn or chicken curry. In India, I’m told, puri is a favourite breakfast food, usually served on special occasions or for a treat maybe at the weekend. The whole experience was amazing!

One of the puri ingredients was a spice called Ajwain. I have so many herbs and spices but I had never heard of this.

Ajwain, also known as ajowan caraway, thymol seeds, bishop’s weed, or carom, is an herb in the family Apiaceae. Both the leaves and the seedlike fruit (often mistakenly called seeds) of the plant can be used.

Ajwain’s small, oval-shaped, seed-like fruits are pale brown schizocarps, which resemble the seeds of other plants in the family Apiaceae such as caraway, cumin and fennel. They have a bitter and pungent taste, with a flavor similar to anise and oregano. They smell almost exactly like thyme because they also contain thymol, but they are more aromatic and less subtle in taste, as well as being somewhat bitter and pungent. Even a small number of fruits tends to dominate the flavor of a dish so need to be used sparingly. Only a small amount was used in this recipe but the subtle flavour still came through and really enhanced the end product. If you can’t get these seeds Monica says you can substitute with a small quantity of fenugreek leaves, crushed between your hands.

Here is the recipe. (Monica used intuition rather than measurements but hopefully I’ve judged correctly).

  • Puri ingredients
  • 500g Chapati flour
  • 1 tsp salt
  • 1 tsp ajwain seeds or fenugreek leaves
  • A drizzle of oil
  • Water
  • Put flour and salt into a large bowl.
  • Rub the Ajwain or fenugreek between your hands and add to flour.
  • Drizzle with the oil
  • Loosely mix together.
  • Start adding the water, scrunching everything together with one hand, until it forms a dough. The dough needs to be hard not soft or wet.
  • Break of pieces of dough and make into balls.
  • Lightly oil each ball on both sides to prevent sticking and roll out into round discs about 3 inches in diameter and the thickness of a pound coin.
  • Heat up some oil in a pan. When hot enough to deep fry carefully drop in one puri at a time. Allow it to rise to the top of the oil and puff up. Turn over. When lightly coloured remove and drain on kitchen paper. Continue until all are cooked, keeping them covered to keep warm. Serve with the Aloo bhaji and chutneys of your choice.
  • Aloo Bhaji ingredients
  • 2tbsp oil
  • 3 large potatoes, diced about 1/2 pieces
  • 3 large tomatoes, puréed and sieved to remove seeds
  • 1 fresh green chilli roughly chopped
  • Handful of chopped coriander
  • 1 tsp cumin seeds
  • 1 tsp turmeric
  • 1/2 tsp red chilli powder
  • 1 tbsp coriander powder
  • Heat the oil and cook cumin seeds until they start to splutter. Be careful not to let them burn.
  • Add the sieved tomato purée and all the powdered spices.
  • Simmer until the oil separates and the tomatoes are cooked well.
  • Add the potatoes and coat well in tomato mix and cook for a couple of minutes.
  • Add enough water to just cover the potatoes and cook until the potatoes are soft and mushy. Add a little more water if it looks as though it’s getting too dry.
  • Add the chopped coriander, simmer for a couple of minutes. Check seasoning(to taste) and it’s ready to serve.

Chicken and mushroom casserole

6 Nov

imageThis was one of the first dishes I made when I started going to Slimming World.  I joined because I love their attitude to food  I don’t think I ever thought about the amount of fat I was using in recipes.  They say that is what gives the food flavour but time after time I have proved that to be wrong.  Nowadays I only ever use spray oil sparingly and the food still tastes wonderful.  By my calculations this works out at just 3 Syns per person but please check this is right.  This will not make any sense to those not on slimming world but suffice it to say it is very low fat and healthy. Here is the recipe.

Chicken and mushroom casserole        Serves 4

  • Fry light oil spray
  • 100g lean back bacon, all fat removed and cut into strips
  • 2 medium onions thinly sliced
  • 8 chicken thighs, skinned
  • 2 cloves garlic, crushed
  • 1 tbsp seasoned flour
  • 2 tbsp brandy
  • 200g mushrooms, sliced
  • 125 ml white wine
  • 400 ml chicken stock (made with 2 organic stock cubes)
  • 2 tbsp chopped fresh parsley
  • 2 sprigs fresh thyme
  • salt and pepper
  1. Spray a large non-stick skillet with oil. Fry the onions and bacon over a medium heat until the onions are tender. Remove and set aside.
  2. Spray a little more oil into the pan and fry the chicken in batches until brown on all sides.
  3. Return the onion and bacon to the pan with the garlic, flour and brandy. Stir and cook for 1 – 2 minutes.
  4. Add the mushrooms, wine, stock, herbs and seasoning, stir well and bring to the boil. Reduce the heat to low, cover and simmer gently for 45 minutes or until the chicken is cooked through.
  5. Check the seasoning and serve with potatoes and vegetables of your choice.


This slideshow requires JavaScript.

Beef casserole, perfect for cold winter days!

30 Oct

 There are so many things I love about autumn and winter.  The dark nights when you can snuggle down in front of the fire, warm milky drinks to take to bed, long walks, wrapped up in scarves, gloves and hats and last, but definitely not least, thick warming casseroles, full of goodness and comfort.  I have been making this casserole for as long as I can remember.  My Grandma used to make a casserole out of ‘leg meat’.  I’m not really sure what cut this is, maybe it is peculiar to Derbyshire butchers.  I’ve often asked for it only to be given a blank look.  I have a feeling it is shin of beef but cut long ways instead of across.  Whatever it was, she used to cook it simply in water with maybe a bit of salt.  The result was incredible and the gravy to die for.  Oh well, enough of my memories. 

My version always uses braising steak.  Over the years the recipe has evolved.  Initially I would cook it like my Grandma, then, when we had the children and money was short, I started added vegetables to bulk it out.  Since then I have taken to adding some chopped tomatoes which give a great consistency to the gravy.  What we eat today, therefore, pays little resemblance to my early offerings but the flavour is simply delicious, accompanied by a big helping of mashed potatoes to soak up the gravy.  

Anyway, here is the recipe.  If there is left over meat it is fantastic in a cottage pie.  Simply line a pie dish with a layer of the meat and vegetables cut up into bite sized pieces and top with  potatoes and swede mashed together with a little low fat fromage fraise

Beef casserole                        Serves 4-6

  • 1 kg/2 lbs 4oz lean braising steak, fat and sinews removed and cut into large pieces
  • 4 white onions, peeled and halved
  • 4 large carrots, peeled and halved
  • Spray or Frylight sunflower oil 
  • 1 x 400g can of chopped tomatoes
  • 500 ml water
  • 1 beef stock cube (knorr)
  • Salt and freshly ground black pepper
  • 2 bay leaves
  1. Preheat the oven to 180C/170C fan/gas 4.
  2. Spray a large non-stick ovenproof casserole with a lid with the oil.  Don’t worry if you don’t have one, simply make in a large frying pan and transfer to your casserole when it is ready to go in the oven.  Brown the pieces of beef over a high heat.  The intention is to sear the meat and retain the flavours.  Do this in batches if necessary as you don’t want the meat to steam instead of searing.  When brown remove and reserve.
  3. Spray the same pan again with oil and add the onions and carrots.  Cook for a few minutes until they start to go a light brown.
  4. Add the tomatoes and water and crumble over a beef stock cube.  Season well.  When boiling return the meat to the dish with the bay leaves.  There should be enough water to almost cover the meat and vegetables but not drown them.  If not add a little more.
  5. Cover the casserole and cook in the oven for 2 hours, checking every now and again to make sure it is not going dry.  Check the meat is tender, if not give it another half an hour.   Remove from the oven and serve with mashed potato, pouring the lovely gravy over them.

    This slideshow requires JavaScript.

Healthy Spaghetti Bolognese – delicious

23 Oct

imageSpaghetti Bolognese is probably my husbands favourite meals. My version is not typical of a traditional Bolognese sauce as when I first started making it, many years ago when the children were young, I had to bulk it out with vegetables to reduce the overall cost and also to provide vegetables for my resistant children.  We still love it and have it on average once a week. Now there are just my husband and myself at home I still make enough for four people and simply freeze half in a rigid container to use when time is short or when I don’t feel like cooking. Defrost completely though before you reheat.

Recently I have been attending Slimming World to lose some weight that has crept on over the years.  I have adapted the recipe so, by my calculations, if you use the Frylight oil,  it is now Syn free. In fact, so is the pasta and, if the Parmesan is used as a Healthy Extra, that is free too.  A wonderful plateful of free comfort food, what can be better than that!

Here is the recipe.

Spaghetti Bolognese                     Serves 4 people

  • Frylight Olive spray or 1 tsp olive oil
  • 1 medium onion, finely chopped
  • 1 clove garlic, crushed
  • 1 green pepper, finely chopped
  • 200g chestnut mushrooms, sliced
  • 500g lean steak mince
  • 1 tsp dried Oregano
  • Salt and freshly ground black pepper
  • 400g can chopped tomatoes
  • 1 beef stock cube (I use Knorr as Oxo is a bit overpowering in this dish)
  • 100/200 ml of water (just enough to loosen the mix and provide some sauce
  • Dried spaghetti (portion dependant on appetite)
  • Parmesan cheese, finely grated (Optional)
  1. Spray a large saucepan with the oil or, if you are not using the spray, add the oil.  Heat until hot over medium heat and add the onion. Fry gently for about 5 minutes until starting to go tender.  Add the garlic and fry for 1 minute more.
  2. Add the pepper and mushrooms and continue frying over a low heat for a further 5 minutes, stirring occasionally so it doesn’t stick.
  3. Turn up the heat to medium/high and crumble the mince over the vegetables. Mix well and cook until the mince has browned.
  4. Sprinkle over the oregano and season.  Mix well then add the tomatoes and water. Crumble over stock cube, mix well then bring to the boil.
  5. Reduce the heat to a simmer and cook, uncovered, for 30 minutes until all the vegetables are tender and the sauce has thickened. Add a little more water if necessary.
  6. In the meantime cook the spaghetti as per packet instructions.
  7. Drain the spaghetti and serve with the meat sauce on top, sprinkled with parmesan if you like.

This slideshow requires JavaScript.

Thai style beef and mango salad, one of our favourite meals!

16 Oct

 We first had this salad about eleven years ago, shortly after we returned from living in America.  It has been a firm favourite ever since and we eat it at least once a month and more often if I think about making it.  Although this is classed as a salad it could not be further away from what I grew up to understand salads to be, i.e. lettuce, tomatoes and cucumber!  The tender chunks of beef, straight from the pan, absorb the hot and spicy salad dressing.  The sweetness of the mango is in perfect contrast with the beef and the heat from the red onion and the watercress.  Your senses will rarely be subjected to such an attack on all levels, smell, taste and sight!  Absolutely delicious and very low in fat, carbohydrate and calories so excellent for anyone who is hoping to lose weight.  What more could you ask for?

Thai food is known for its balance of the four fundamental taste senses, sour, sweet, salty and bitter.  It is often spicy as well.  This dish is an excellent example of how this balance is achieved.  Don’t be put off by the ingredients, especially the mango in a savoury dish.  If you like spicy food I think you will love this.

Thai style beef and mango salad    Serves 2 (generously)

  • 2 sirloin steaks, trimmed of fat, cut into 1 inch cubes
  • 1 mango, peeled and cut into cubes
  • 1 red onion, cut in half and thinly sliced into half-moon shapes
  • 1 bag watercress
  • 3 tsp fish sauce
  • freshly ground pepper
  • juice 1 lime
  • small knob fresh ginger, peeled and finely chopped
  • 1 garlic clove, crushed
  • 1 small red chilli, deseeded and finely chopped
  • 1 tbsp soft brown sugar
  • Spray sunflower oil or Frylight
  1. Put the cubes of steak in a dish, add 1 tsp fish sauce and season well with freshly ground pepper.  Mix well and set aside.
  2. Divide the watercress between two plates.  Sprinkle the mango cubes and sliced onion over each plate.
  3. In a small bowl, mix together the lime juice, brown sugar, ginger, garlic and chilli.  Check for taste.  If it is too sweet add more lime, too sour, add a little more sugar.
  4. Just before serving, heat the oil in a wok.  When hot stir fry the steak , turning frequently, until it is browned all over.
  5. Divide the steak between the two plates of salad and dress, to your liking, with the dressing.  Serve immediately. 

    This slideshow requires JavaScript.

Mackerel with a Thai style marinade.

9 Oct

I think Mackerel is probably one of my favourite fish.  It is so tasty that I didn’t think a marinade would do anything for it but how wrong could I be!  This marinade really enhances the flavour but is very subtle so you can still taste the earthiness of the fish.  I honestly believe it is the best mackerel I have ever tasted.  Next Summer I am going to try it on the BBQ.  In the meantime it is fantastic grilled.  You could serve this with potatoes and maybe a salad or green vegetables. 

One of Terry’s, my husband’s, favourite memories are when he left college and, before starting teaching, he and his friend Gus hitchhiked around Wales.  One of the ports of call was Caldy Island where they caught Mackerel and cooked them on a wood fire on the beach.  I bet they were fantastic!  His friend Gus is a bit of an eccentric.  He is always telling tall stories, I think he actually researches them!  We often say he should write a book.  Some stories that are true, however, are so funny.  He went to visit Terry in College for the weekend and ended up staying for a whole term.  He slept on someones dormitory floor, joined the rugby team and attended lectures.  He even answered questions!  No-one ever sussed it out that he was not actually a student.  

Thai cuisine balances four fundamental taste senses, sour, sweet, salty and bitter (optional).  It is also spicy due to the chillies it invariably includes.  Common ingredients are lime, chillies, garlic and ginger.  Fish sauce is often included, usually offset by sugar.  I found this recipe in the Woman and Home Dinner Tonight magazine and modified it a little.  I’ve searched their website but could not find it so I will write it out for you below, along with the usual slideshow.  It is worth looking up their website and getting their magazine, they have some great recipes.  Anyway here is the one for today!

Mackerel with a Thai style marinade.        Serves 2

  • 2 large mackerel, gutted and cleaned, head removed
  • 1 red chilli, deseeded and finely chopped
  • Thumb sized piece of ginger, peeled and grated
  • 1 tsp honey
  • juice and zest of 1 lime
  • 1 tbsp fresh coriander, chopped
  1. Mix the chilli, ginger, honey, lime juice and zest and coriander together in a small bowl.
  2. Make large incisions into both sides of the mackerel.  Rub the marinade all over the fish, making sure you get it some into the incisions.  Put in a dish and cover with cling film and leave to marinade for 2 hours.
  3. Line a grill pan with foil and brush with olive oil to prevent the fish from sticking.  If you are barbecuing oil a foil barbecue tray.  Place the fish into the tray and cook on a medium heat for 5 minutes on each side.  Turn up the heat and cook for a few more minutes on each side until the skin is brown and crispy and the fish is cooked through.  Serve immediately. 

    This slideshow requires JavaScript.

Stuffed tomatoes and peppers – a great veggie recipe!

2 Oct

I remember the days when my husband, Terry, used to say he hated vegetarian food.  That was before our son married a vegetarian, Tracy.  Over the years I have made countless meals without meat and, with the exception of those using Quorn, Terry has enjoyed every one.  I think perhaps our favourite is Stuffed Tomatoes.  There are lots of variations of this dish.  Some add minced meat to the stuffing, others, like my friend Maritsa, add roasted pine nuts and raisins.  I make mine how my adopted YaYa (that is Grandmother in Greek) taught me, many years ago.  Sadly she is no longer with us but whenever I cook this I have memories of standing in her tiny kitchen, working together and not understanding a word said between us.

For those of you who have tried Greek cooking, it can be a bit of a hit or miss affair.  Recipe books written by Greeks rarely give precise measurements and it can be frustrating when you have to decide how much a ‘bit of’ something actually is.  This, however, is perfectly natural for the Greeks.  If you ever get the chance, talk to a Greek about food.  A light will switch on in their eyes and they will start talking with passion about a subject they love.  Rena Salaman writes that cooking for Greeks is a constant reminder of who they are and where they come from.  Recipes were rarely written down and so every household would have their own version of what is known to be a popular Greek dish.  The one thing they would have in common is that the food would always be made of what is in season, and, most importantly, there would always be an extra portion, just in case there is an unexpected visitor.  Such is the Greek hospitality!

Anyway, back to the plot and Yaya’s Stuffed Tomatoes and peppers (Tomates ke piperies yemistes)

Serves 4

  • 4 large tomatoes (ripe beef tomatoes are perfect)
  • 4 green peppers
  • 5oz rice,washed and drained
  • 2 onions finely chopped
  • Small bunch of flat-leafed parsley, chopped
  • 4 tbsp fresh mint, chopped
  • Cold water
  • Extra virgin olive oil (preferably Greek)
  • Salt and pepper
  • 2-3 medium-sized potatoes, peeled and cut into wedges (baking potatoes are best)
  • 8 oz fresh tomatoes, grated, mixed with 1/4 pint water
  • pinch sugar
  1. Wash the tomatoes, slice off the top at the stem end.   Using a teaspoon, carefully remove the tomato pulp and reserve.  Place the tomatoes in an ovenproof dish and sprinkle a tiny amount of sugar in each.
  2. Wash the peppers and slice off the top at the stem end.  Carefully remove all the seeds and white pith inside and discard.  Place in the dish with the tomatoes.
  3. Chop the tomato pulp.  Lightly fry the onion until soft, in a little olive oil.  Add the tomato pulp, the rice and the chopped herbs.  Cover with cold water, about 1 inch above the level of the rice mix.  Bring to the boil then simmer on a low heat until rice is tender to the bite and all the water has been absorbed.  Keep an eye on it and add a little more water if required.
  4. Fill the tomatoes and peppers 3/4 full, top with a tablespoon of water and replace the lids.  Wedge potato slices between tomatoes.  Drizzle with olive oil and pour over the grated tomato mix.  Season with salt and pepper and bake in a preheated oven, 180c/170C fan/gas 4, for 1 hour.  Baste occasionally to keep the vegetables moist.

Kalo Oreksi (Good appetite!) 

This slideshow requires JavaScript.